![]()
How to Prepare Your Tracks for a Professional Mixing Session (And Save Money on Revisions)
You want your song to sound its best. But even the best mixing engineer can’t fix a poorly prepared session. Here’s a simple, no‑fluff guide to exporting your individual tracks correctly — whether you’re a beginner or a seasoned producer.
1. File Format
Export as WAV or AIFF (24‑bit or 32‑bit float). Avoid MP3 at all costs — compression kills the detail we need for mixing.
✅ Correct: Guitar_01.wav (24‑bit)
❌ Wrong: Guitar_01.mp3
2. Sample Rate
Use the same sample rate you recorded at — typically 44.1 kHz or 48 kHz. Don’t upsample or downsample. If you’re unsure, send the original session files and let us know.
*44.1 kHz is fine for most genres. 48 kHz is better for video/film.*
3. Headroom (The Golden Rule)
Keep your peak levels between -18dBFS and -6dBFS. Never clip the master bus. Don’t normalize. If your track sounds quiet, that’s fine — we handle loudness during mixing.
Think of headroom as breathing space for our processing. No plugins or faders at 0dB? Perfect.
4. No Processing on Mix or Master Bus
Remove all limiters, compressors, EQs, or reverb from your master channel. Send us the raw, unprocessed individual tracks. If you have creative effects (delay, reverb, distortion) on specific instruments, keep them — but bounce them as separate tracks.
When in doubt: send the dry track AND the wet track. We’ll decide.
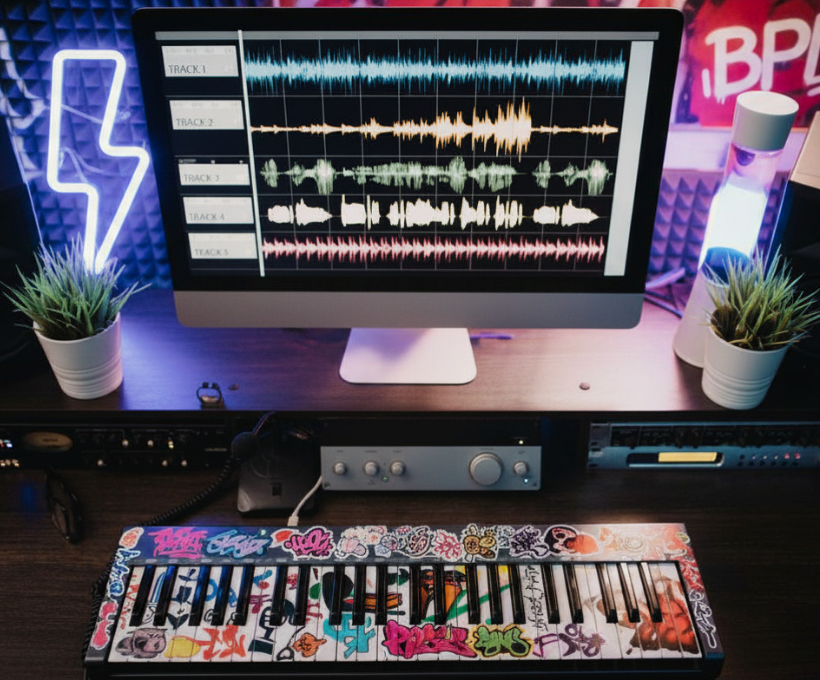
5. Track Naming
Name each file clearly. Use this formula:
[Instrument]_[Description].wav
Example:Kick_01.wav – SynthPad_Chorus.wav – Vox_Lead_Double.wav
Avoid spaces or special characters. Use underscores _ instead.
6. Consolidate, Don’t Just Render
Each track must start at the exact same time (bar 1) . If an instrument starts late, export it with silence at the beginning. This ensures everything aligns perfectly when we import your session.
In most DAWs: select all tracks → Export Regions as Individual Files → Include silence in non‑selected area.
7. What to Send?
Send us:
- All individual audio tracks (no MIDI)
- A rough mix reference (MP3 is fine here)
- BPM/Tempo
- Any specific notes (example: “Make chorus bigger” or “Vocals need more presence” )
Follow this guide and your mixing session will start smoothly, with no surprises or extra costs. Ready to work? Send your properly prepared tracks through our service page.